


 Home Security
How to Install a Smart Lock on a Rental Property
 Michael Anderson
 Aug 29, 2026
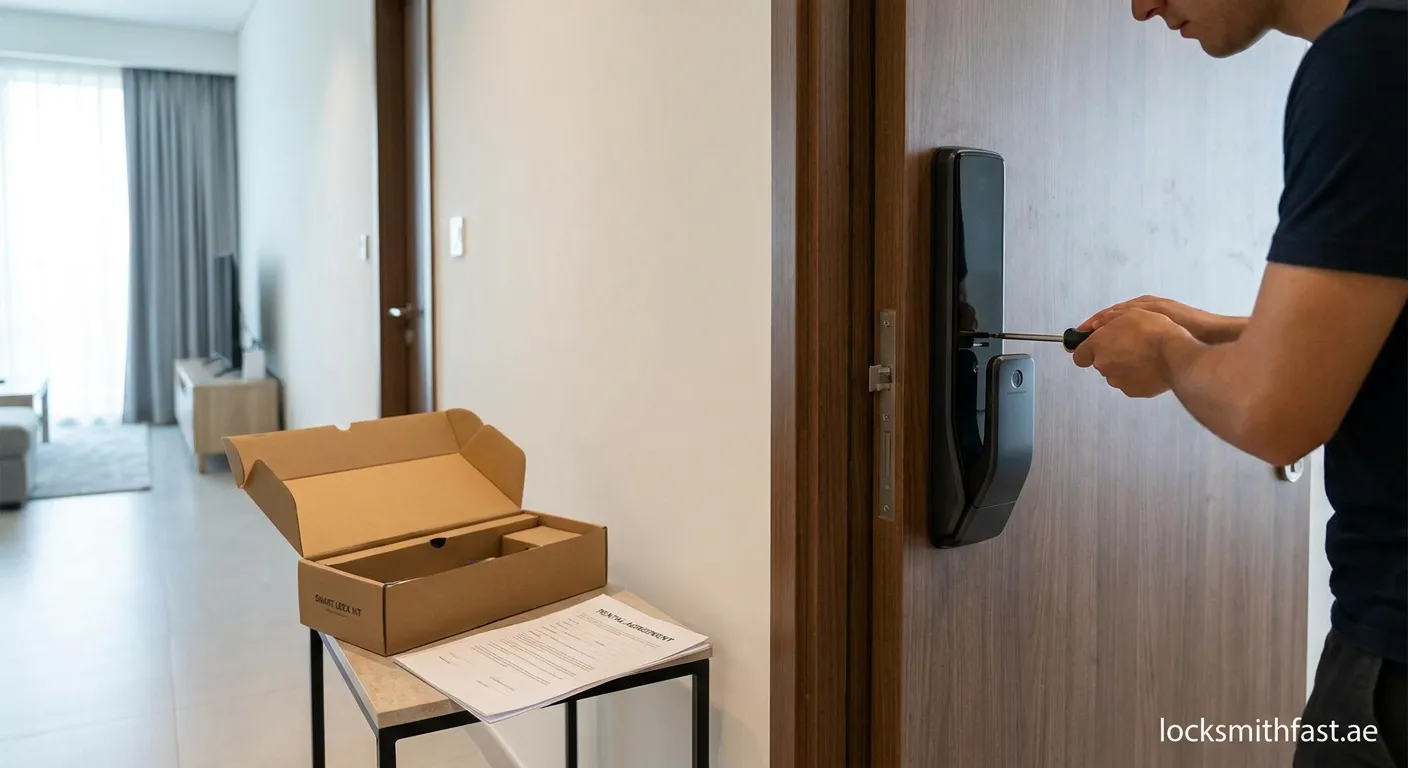
Want to upgrade your rental's security without losing your deposit? Installing a smart lock is easier than you think. Here's your complete guide.
Why Choose a Smart Lock for Your Rental?
Smart locks offer convenience, enhanced security, and keyless entry for renters. Unlike traditional locks, they allow you to grant temporary access to guests, monitor entry logs, and integrate with smart home systems—all without copying physical keys.
Benefits for Renters
- No permanent modifications required to the door
- Easy to revert when moving out
- Remote access control via smartphone apps
- Temporary codes for guests or service providers
Types of Smart Locks Suitable for Rentals
Not all smart locks work for rental properties. Here are the best options:
1. Retrofit Smart Locks
These devices fit over your existing deadbolt. They're renter-friendly because you don't remove the original lock—just enhance it with smart features.
2. Keypad Deadbolts
Replace the existing deadbolt but use standard door preparation. Most landlords approve these since they're easily reversible.
3. Portable Smart Locks
Compact devices that attach to the inside of your door. Perfect for temporary installations and frequent movers.
Tools and Materials Needed
Before learning how to install a smart lock on a rental property, gather these essentials:
- Screwdriver set (Phillips and flathead)
- Tape measure
- Pencil for marking
- Smart lock kit (batteries included)
- Smartphone for app setup
- Optional: Door reinforcement plate
Step-by-Step Installation Guide
Step 1: Get Landlord Approval
Before making any changes, review your lease agreement and get written permission. Explain that:
- The installation won't damage the door
- You'll restore the original lock when moving out
- The upgrade improves property security
Step 2: Remove the Existing Deadbolt
- Unscrew the interior mounting screws
- Remove both sides of the lock
- Take out the latch mechanism
- Keep all original parts in a labeled bag
Step 3: Install the New Smart Lock
- Insert the new latch into the door hole
- Secure it with the provided screws
- Mount the exterior keypad
- Attach the interior assembly
- Tighten all mounting screws evenly
Step 4: Program and Test
- Download the manufacturer's app
- Create an account and pair the lock
- Set up entry codes for household members
- Test all functions: keypad, app control, and manual key
Pro Tip: Take photos of each installation step. This helps when reversing the process later.
Tips for Maintaining Your Smart Lock
- Replace batteries every 6-12 months
- Keep a physical backup key in a secure location
- Update firmware regularly for security patches
- Clean the keypad monthly to prevent button issues
Common Mistakes to Avoid
| Mistake | Solution |
|---|---|
| Wrong lock type | Check door thickness and backset before buying |
| Stripped screws | Use proper screwdriver size; don't overtighten |
| Poor alignment | Ensure door closes smoothly before finalizing |
| Ignoring lease terms | Always get landlord approval first |
Final Thoughts on Smart Locks
Installing a smart lock on your rental property doesn't have to be complicated. Follow our guide to enhance your security without violating lease terms. We also provide professional locksmith services in Umm Al Sheif – check out Lost-car-key Umm Al Sheif for expert assistance.
 smart lock, rental property, home security, DIY installation

